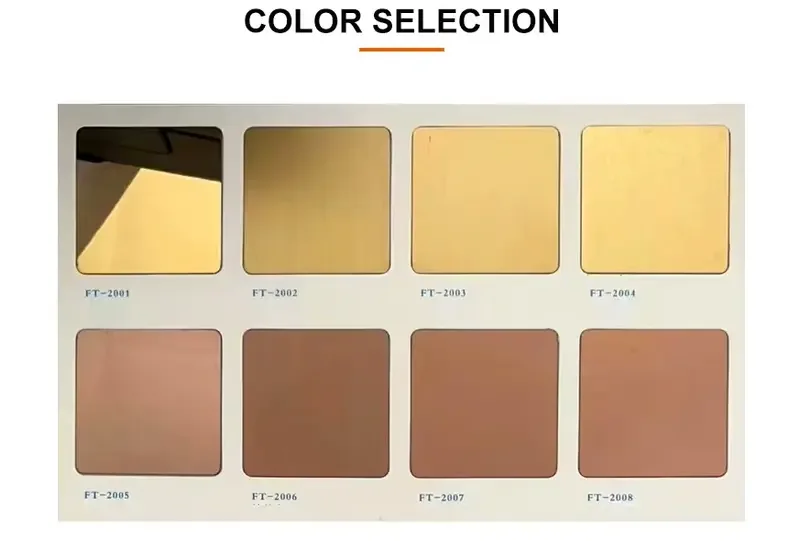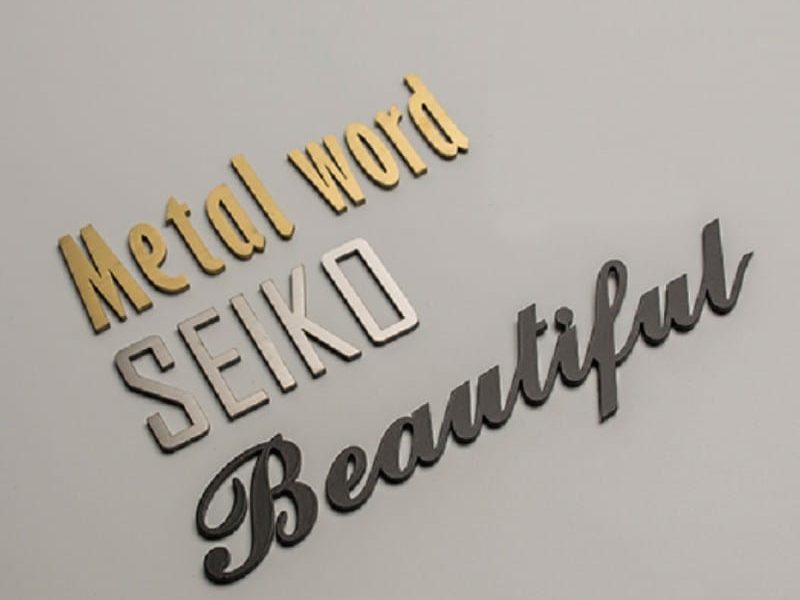
Flat-cut metal lettering starts with a cut profile and material thickness. Keep those dimensions separate from the final projection away from the wall. A face photograph can communicate appearance while leaving the edge and fixing details unresolved.
Define the outline and the thickness
Send the current vector outline where available, with overall width, letter heights and units. Ask for fine strokes and small internal cut-outs to be assessed at the intended size. Identify whether any requested dimension refers to the material itself or the total wall-to-face projection.
Include visible edges in finish approval
Discuss the face and edge appearance together, especially where the sign will be viewed from the side. State a required metal and grade if the project already has one, or describe the environment for review. A metallic colour sample does not establish the actual base material.
Review fixing on the real surface
Identify wall material, rear access and restrictions on fixing locations. Ask the responsible team to review the attachment proposal against the design. Do not assume that the mounting arrangement in a reference photograph is included or suitable for another surface.
Compare alternatives against one brief
If a deeper assembled body is proposed instead, review it as a separate construction option with its own visible and mounting details. Keep the approved finish reference, outline and quantity schedule connected to the chosen construction.
Place the option in the complete sign project
Review this lettering beside the other signs in the same space. Keep the sign location, viewing context and approved brand appearance with the artwork. For an entrance or frontage, use the storefront signage brief; for interior identity, compare the lobby and office signage range. List each sign type and quantity separately so the project quotation can define manufacturing, packing and installation responsibilities.